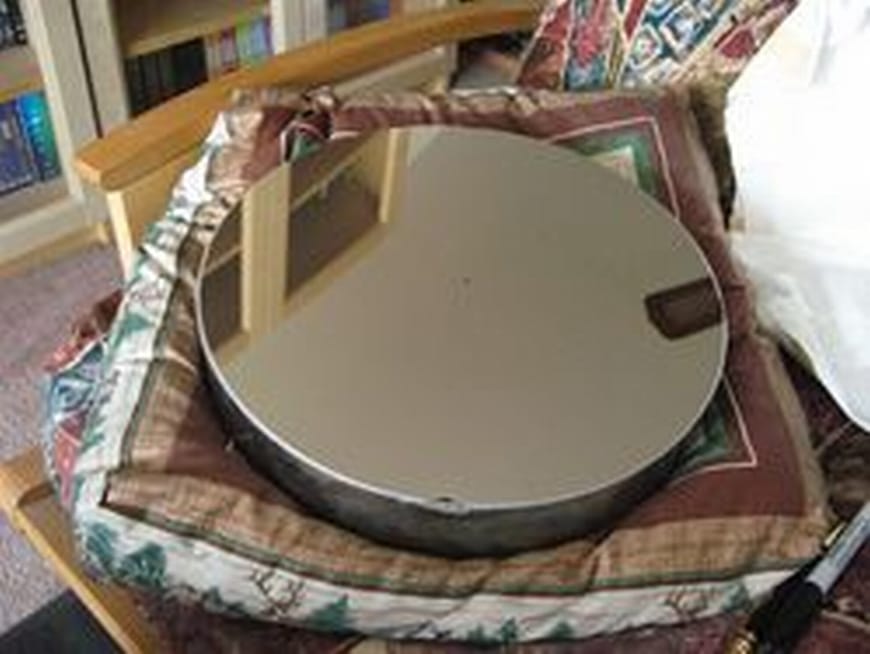
When I was in Junior High School I got a 3 inch reflector telescope for Christmas (Dec 1970). I had fun with that scope and it is still around. My goal is to grind a mirror for a 12.5″ Dobsonian telescope.
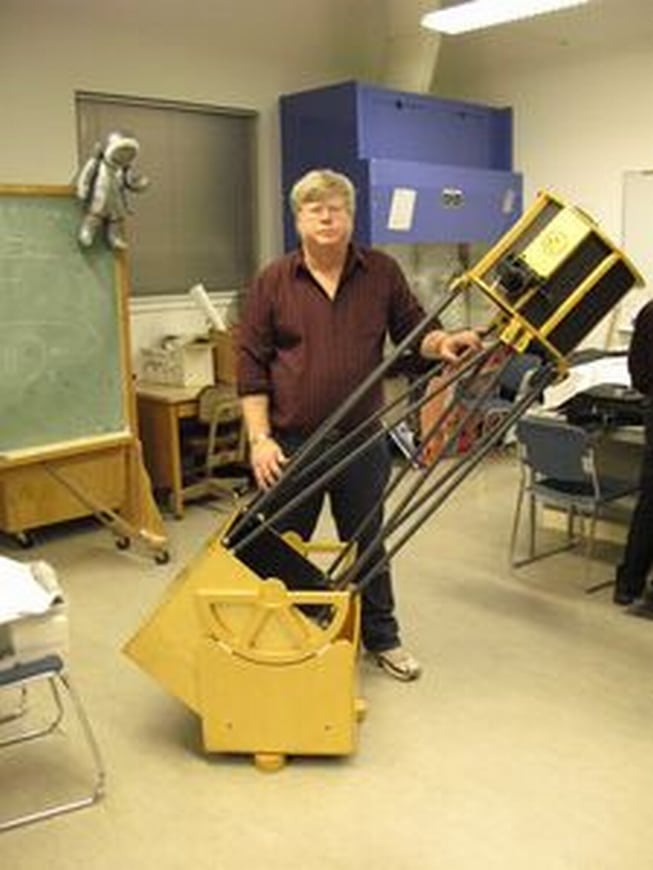
I’ve actually decided to purchase a kit for the hardware rather than doing all the wood working. I found AstroSystems TeleKits to be close to what I wanted http://www.astrosystems.biz/telekits.htm. This brings the price of my telescope up to the cost of a commercial telescope, but if I can hold the quality of my mirror, I’ll have a better telescope than one with a machine ground mirror.
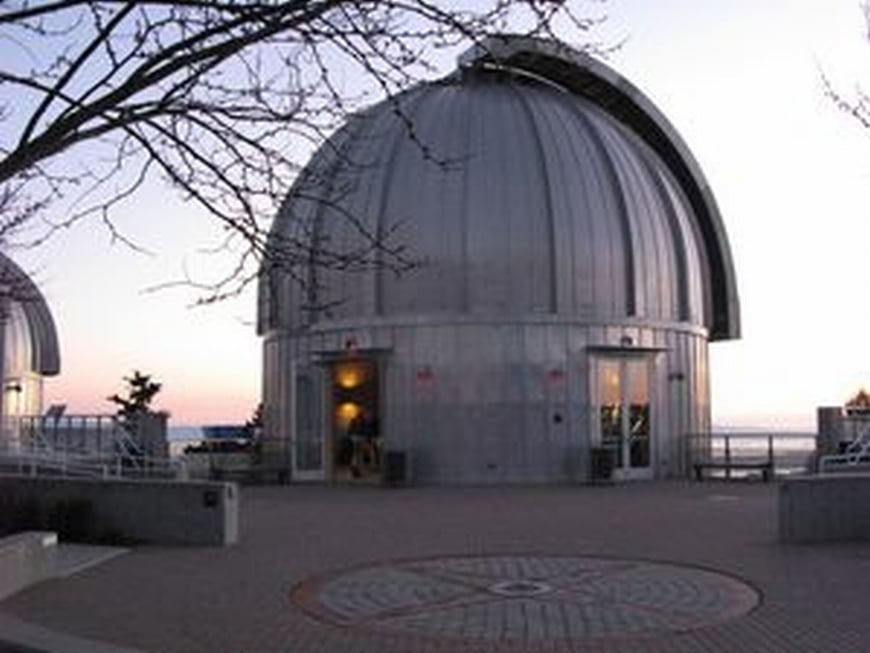
The Chabot Space & Science Center in Oakland has a telescope making workshop on Friday nights along with viewing through their telescopes. I have joined the workshop and hope to have a working telescope by Christmas 2007.
Project Summary
- Final Specifications:
- Diameter: 12.5 inches
- Radius of Curvature: 139.25 inches
- Focal Length: f5.5
- Costs:
- Glass and Tool: $230
- Re-tile of tool: $10
- Pitch: $25
- AstroSystems Telekit: $1100
- Finishing materials: $250
- Catsperch and cushion: $168 + $76 = $244
- Finishing materials: $20
- Eyepieces: $478
- Mirror coating: $50 by Bob Fies, http://www.alcoat.net
- Total: $2407
- Update, Mirror re-coating 10/2009 $235 by Paul Zacharias http://spectrum-coatings.com/
- Time:
- #80 grit: 14 hrs
- #120 grit: 16 hrs
- #150 grit: 2.5 hrs
- #220 grit: 5 hrs
- #320 grit: 2.5 hrs
- #400 grit: 2.5 hrs
- #500 grit: 2.5 hrs
- #600 grit: 2.5 hrs
- 12 micron grit: 2.5 hrs
- 5 micron grit: 2.5 hrs
- Polishing Ce0: 13.25 hrs
- Figuring Ce0: 3 hrs
- Figuring Fe0: .25 hrs
- Total: 69 hrs to complete the mirror, on average 1 Friday night at the workshop = 2.5 hrs of actual work time in the early stages.
- Mirror coating: 2.5 hrs
- Telekit construction and Finishing: 1 week of evenings for major gluing, sanding and finishing over about 6 weekends (2-3hrs of sanding, 2-3hrs of varnishing for all the parts).
- Start to Finish mirror grinding and coating: March 23, 2007 to February 9, 2008
- Additional work with Greg La Flame to tweak the configuration and learn to use the scope.
- First use in the field was June 8, 2008 at Coyote Lake, CA
The Beginning. March 23, 2007
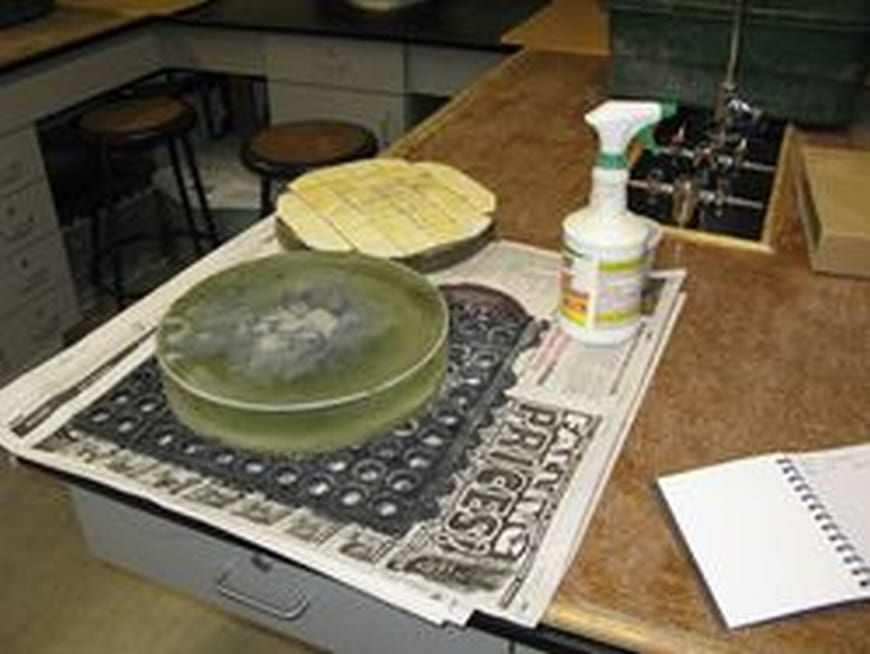
A mirror blank and the tool. I started at 7:30 and ended about 9:45 this night. I started with #80 grit. My arms felt alright while I was working, it was a different story after I went to bed and they cramped up.
I purchased the mirror blank and grinding tool for $230 (slight discount because of a divot in the back of the glass blank caused during shipping).
March 30
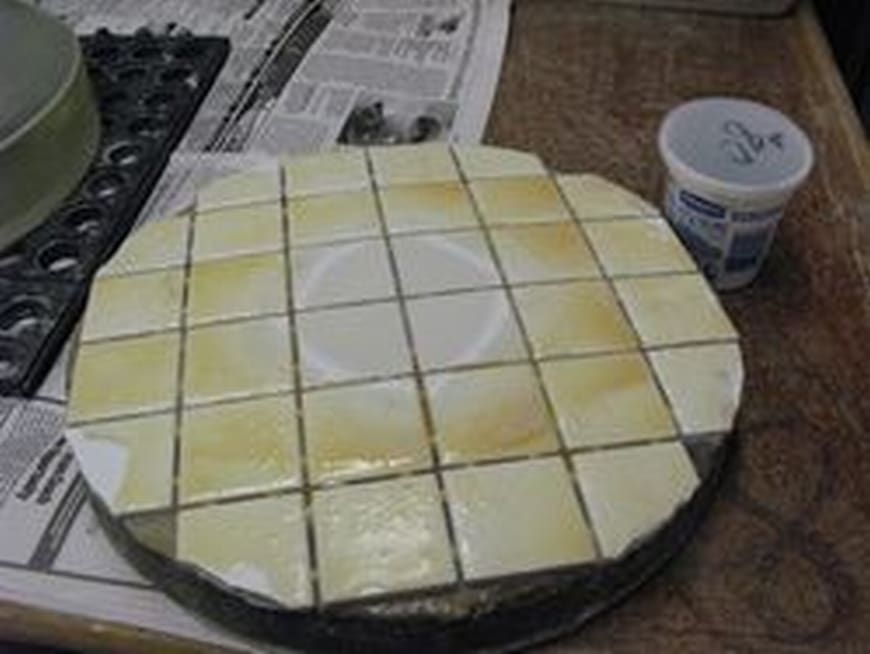
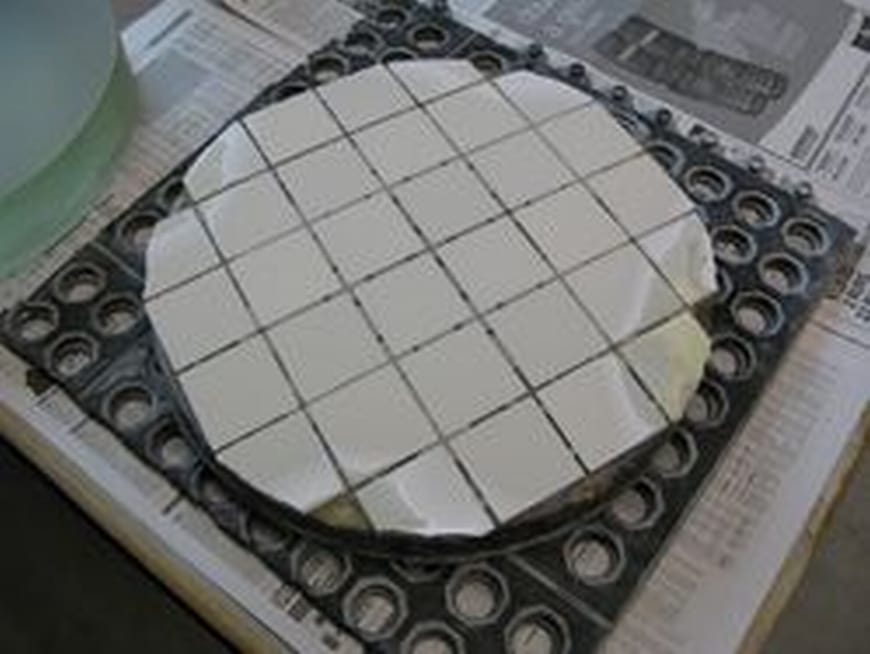
I came better prepared for this night, something to keep everything in, some towels, etc. You can see the wear on the tiles in the tool. I have to wear this down to the outside edge. I’ve been told this should be about 8 hours and then I can go to the next grit. Overall it is supposed to take 40 hours to get to a finished mirror.
I’m currently using the tool on top, as it is about half the weight of the mirror and seems to be a little more stable (doesn’t rock) when I’m grinding.
For additional images, visit http://www.dvint.com
If you don’t see an image, give the system time to download them. Once the images are available, click image to view a larger version. Place cursor over image to show controls or select a thumbnail.
April 6
The tiles are being worn down and you can see on the glass I’m out closer to the edge, more so than the tile tool.
For additional images, visit http://www.dvint.com
If you don’t see an image, give the system time to download them. Once the images are available, click image to view a larger version. Place cursor over image to show controls or select a thumbnail.
April 20
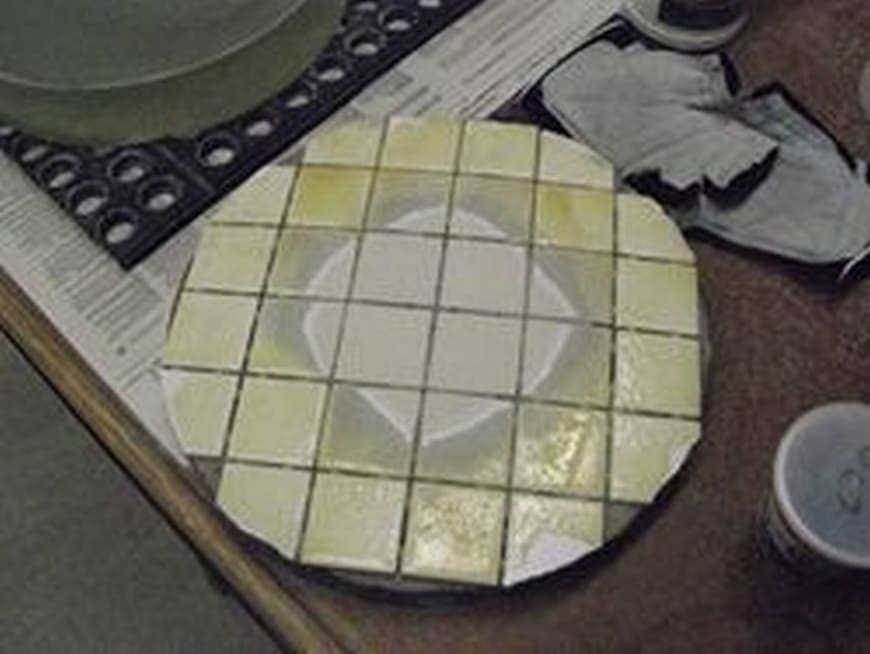
I missed last week for a photography workshop. Some progress, but not nearly as much in the first night. We took a measurement on the depth, and the center is actually getting close to the f/6 that I want to build, there is still about a half inch on the outer edge that needs to be worked. Tonight the focus is more on trying to work the tool down. I have to get the tool to fit the complete curve on the glass before I can move on. Tonight I’m going to let the weight of the glass to do some of the work.
April 27
The wear pattern on the tiles is getting closer, but still a lot of work to go. The mirror blank shows that I’m about a half inch from the edge, its further along than the tool. Later in the evening started measuring the amount of sphere.
To take the measurement of the depth on my mirror blank, I place the spherometer on the blank and then rotate the micrometer until it comes in contact with the mirror. By placing this on the mirror in the center and several points around the edge I can see how even my work has been. Good news is, that I’m right at the depth that I need to be, so the remaining work is to get the tool to completely match the mirror before I can move to the next grit.
May 3
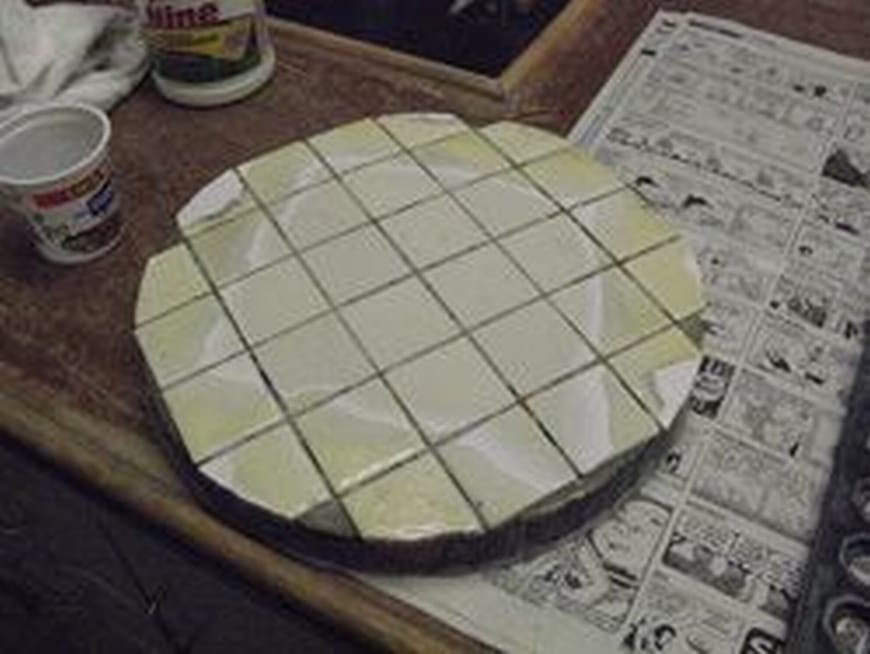
My mirror blank is at the right depth and its all the way out to the edge. The tool though still requires work in the four corners. Tonight should be the last night on #80 grit.
May 11
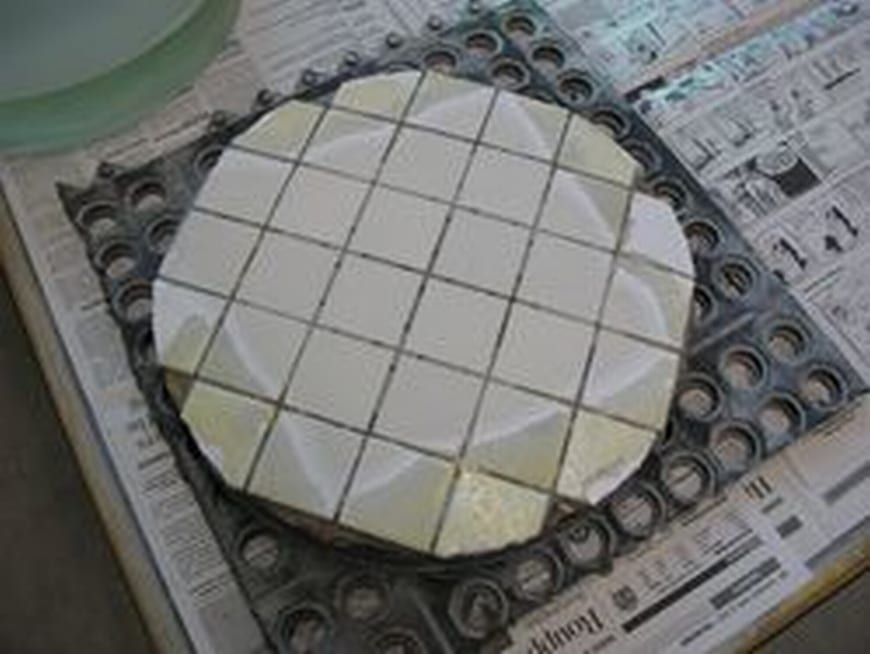
Well I didn’t get as far as I thought on the tool last week. The mirror is now rated at an f/5 instead of the f/6 I wanted. The tool has one really deep corner, the others three points are close to being finished.
June 1
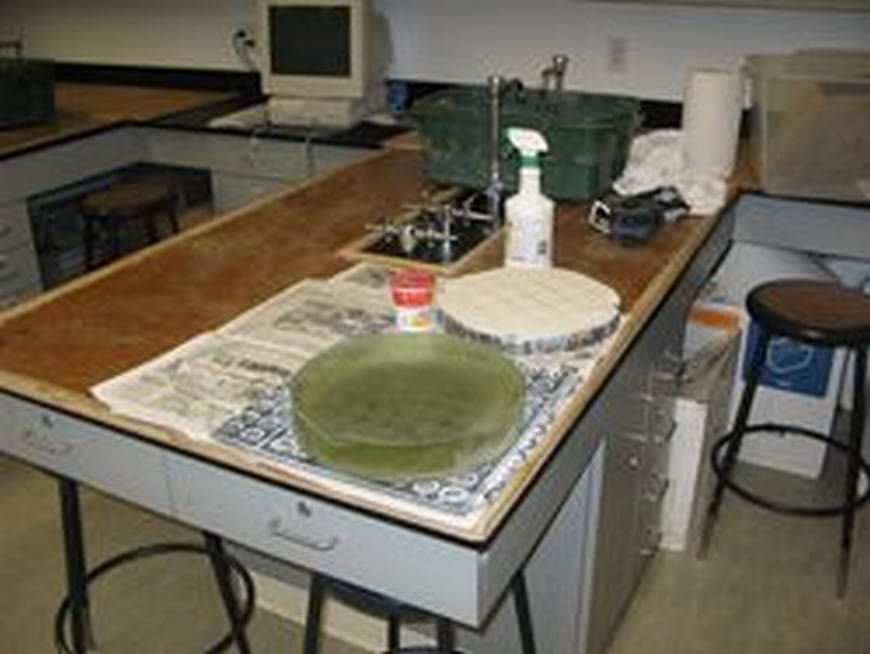
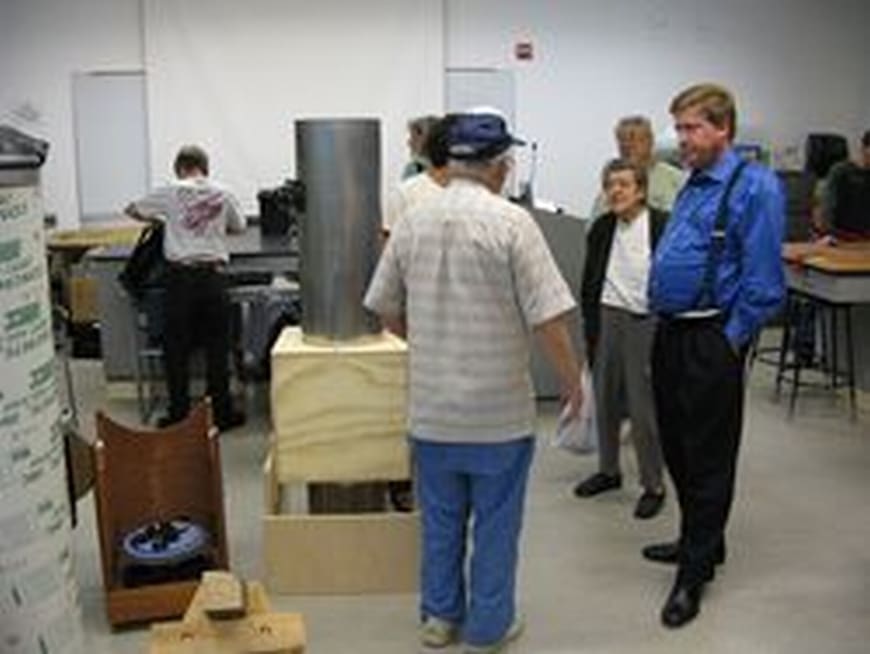
Towards the end of the last session I started on the #120 grit and continue today. I still have to shallow out the curve and now grind out the small fractures from the last grit. With the new grit, I got to move up a workstation. I’ve included a couple of shots of the work area and the people working on projects. We have a mother daughter combination and several father son groups working on mirrors.
June 15
Still working with #120 grit. The mirror depth starting tonight is .016, so there is still lots of work to bring it back to an f5. We had one person complete a mirror tonight and as you see from that last 2 images, a couple of people brought their scopes in to assemble them.
June 29
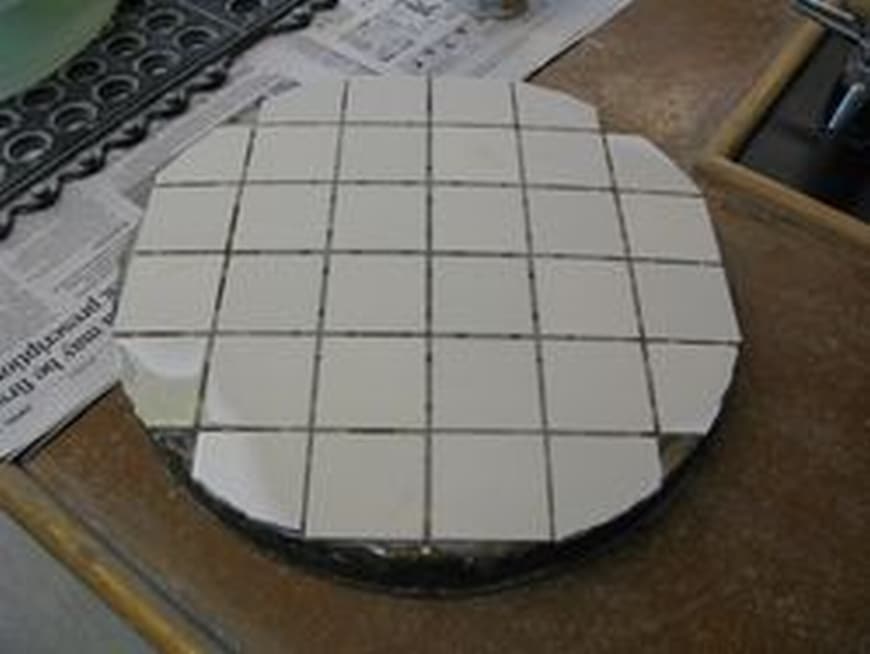
Still working with #120 grit. The mirror depth starting tonight is .0155, so there is still lots of work to bring it back to an f5. I had to put a new bevel on the glass to keep the edge from fracturing. By the end of the night I discovered that the tiles were getting thin. In the center I could see the backside pattern and some of the high spots on the edge are thin as well. I still have the one low spot that hasn’t even got below the glazing.
July 6,
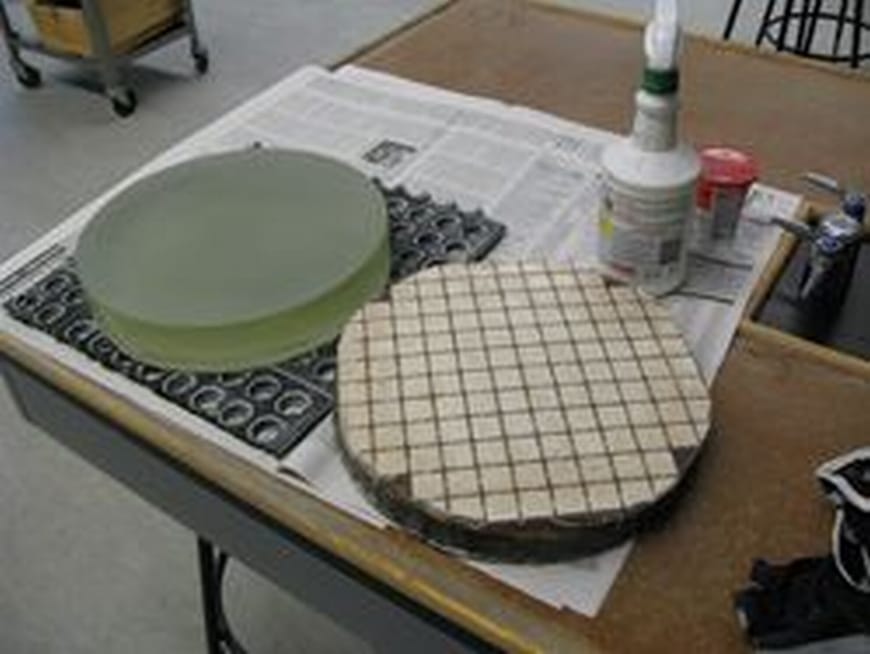
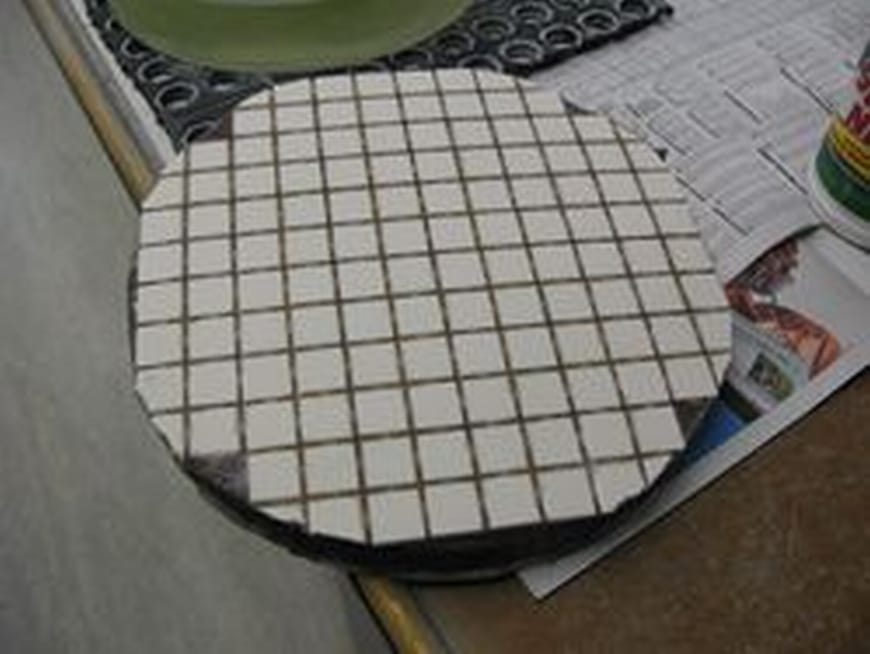
Tonight’s activity will be to put a new layer of tiles on the tool. While I waited for materials to arrive we had a good turnout of people coming in to work on their telescopes. For me I got a new sheet of tiles and some resin. I shaped the tiles to the tool and placed a layer of resin to glue them down. A second layer was applied to file in the edge gaps in the tile.
July 13
I had to chip the excess resin off my new tiles before starting. I did another night of work with #120 grit.
July 20
Working with #120 grit tonight.
Aug 10
Grinding with #150 tonight, I also had to increase the bevel on the edge of the mirror.
Aug 17
Grinding with #220 grit tonight.
Sept 7
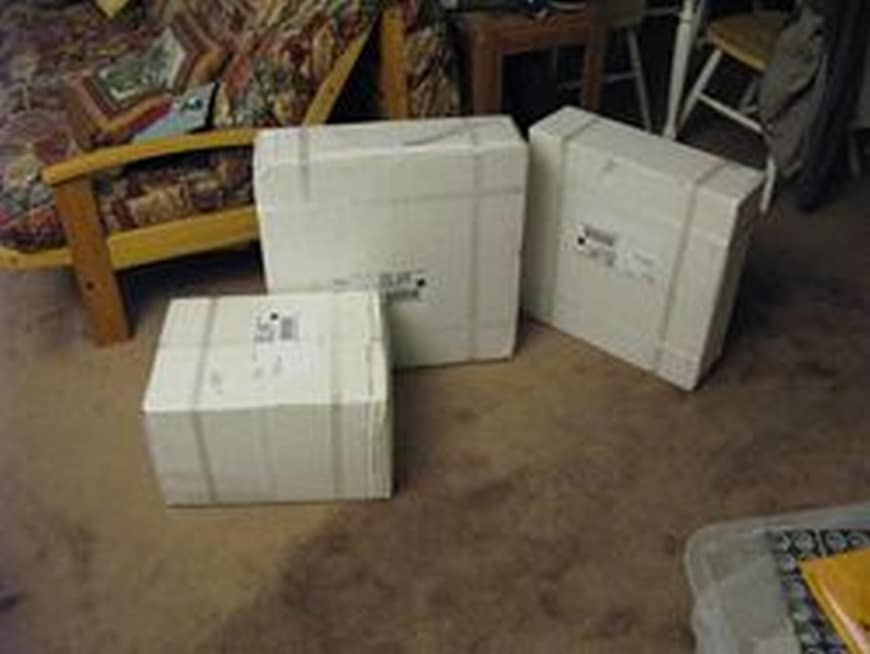
The museum was closed for cleaning tonight. That’s ok because my AstroSystems kit arrived. Three boxes arrived today.
Sept 14
Continued grinding at #220.
Sept 18
Another box of parts arrived. We have one last shipment of the truss poles, but we are going to wait on those until I have the actual focal length of the mirror.
Sept 21
Grinding at #320.
Sept 28
Grinding at #400.
Sept 29
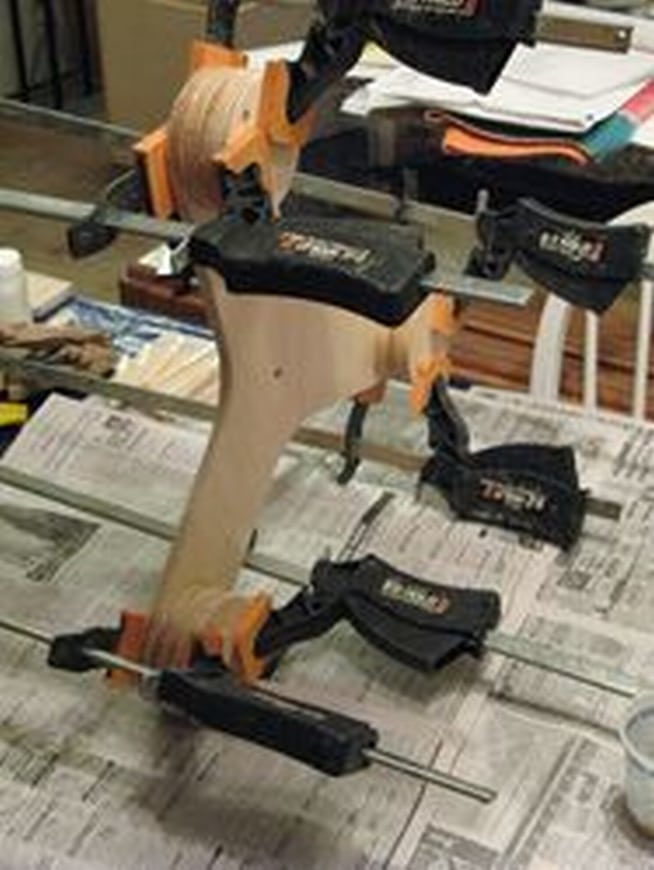
I decided to rent a set of large clamps for AstroSystems. They arrived earlier in the week, so today I started gluing up the front cage that will hold the secondary mirror and eye piece. Yep that’s the kitchen table! I hate not having access to a garage to do this sort of work. This was a big motivation in buying the AstroSystems kit.
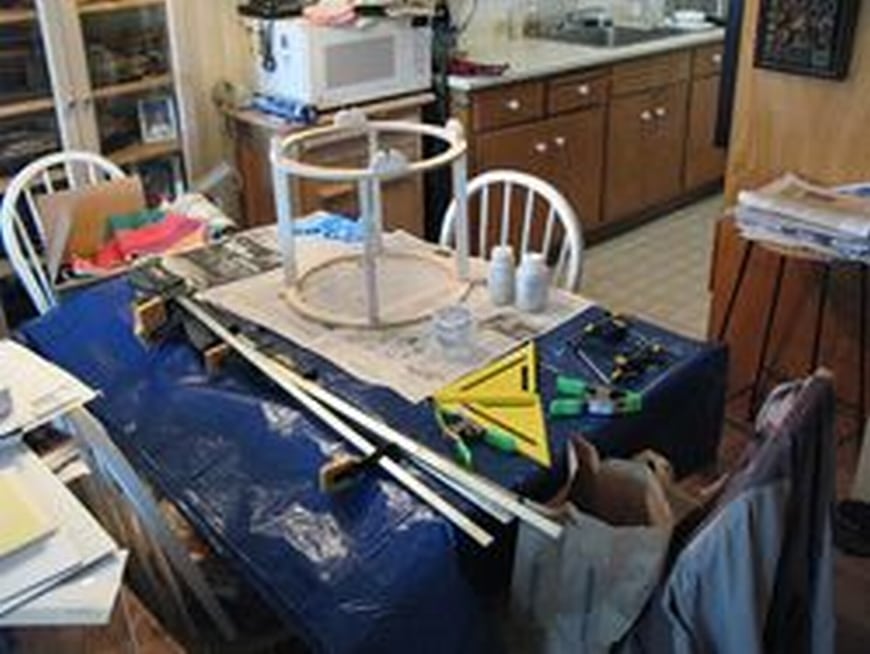
Sept 30
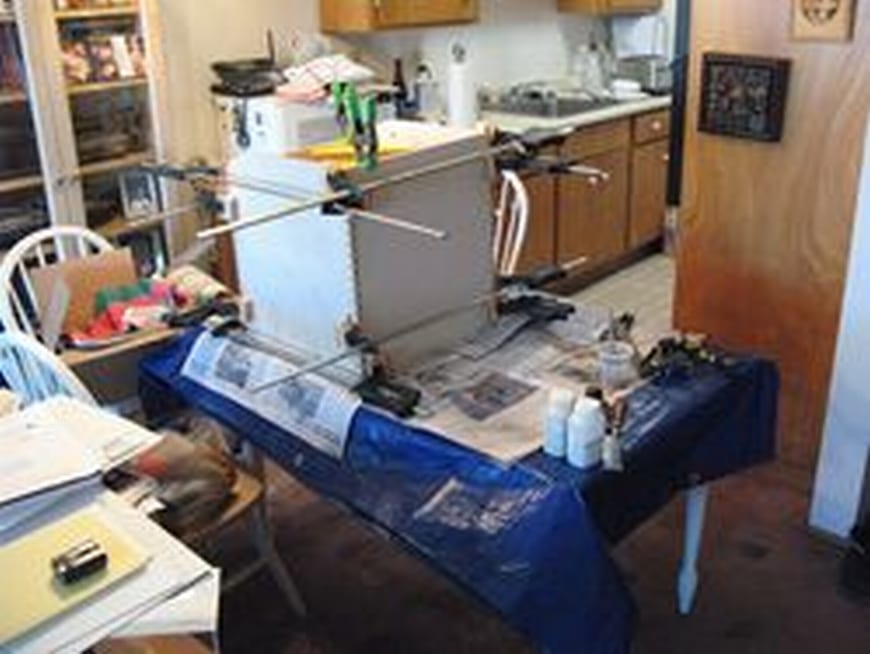
It takes a day for the epoxy glue to set up completely, so there are only enough large clamps to do one large unit at a time. Today I’m building the mirror box
Oct 1
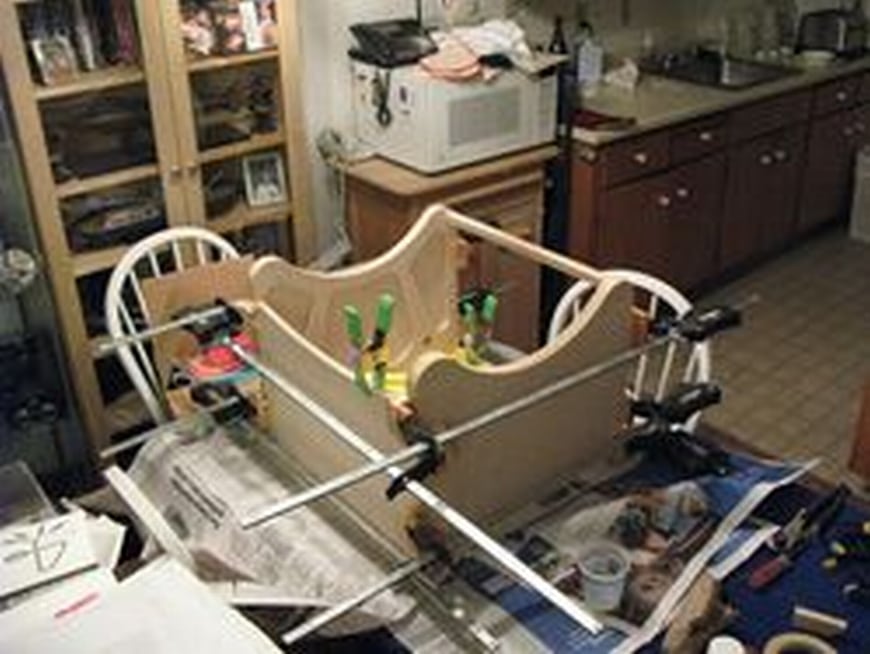
This is the base box in which the mirror box will pivot. This will then rotate on a ground pad.
Oct 2-3
Here are the ground pad, and rocker bearings.
Oct 5
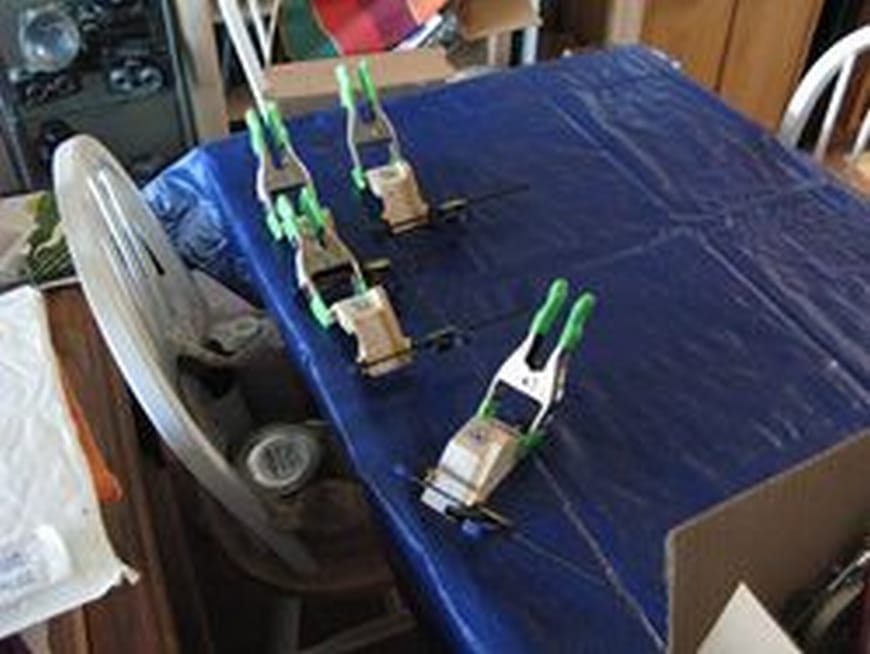
I glued up the truss clamps and here are some of the parts without clamps. last image shows how the major parts will nest for transportation.
Grinding at #500.
Oct 12
Grinding at #600. Mirror curve depth is 0.014 inches measured with the 4 inch spherometer. This gives me a focal length of 142.86/2 div 12.5 = f5.7144
Oct 16
Grinding at home with 12 micron.
Oct 17
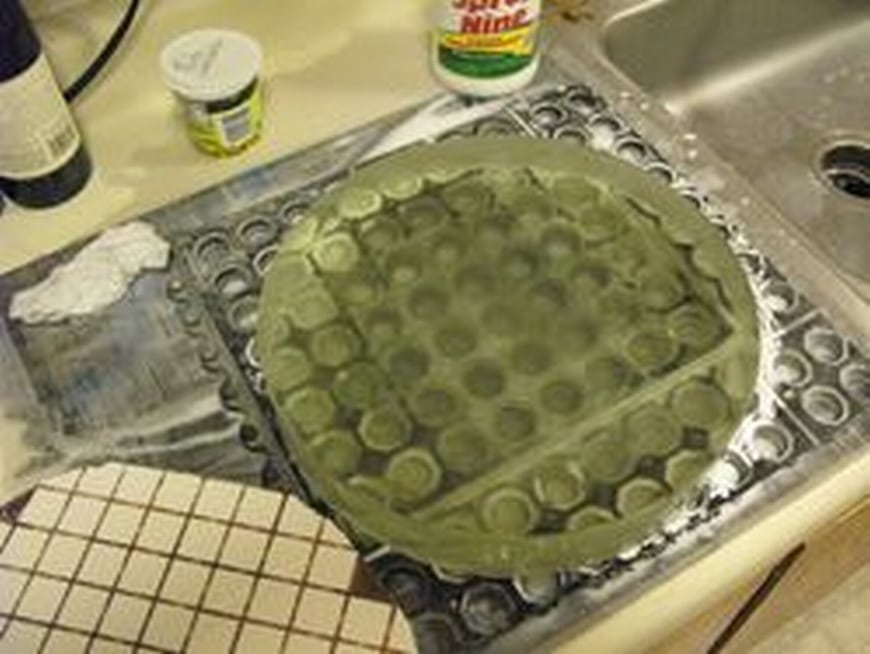
Grinding at home with 5 micron. This is the final grinding compound. I’m starting to see through the glass a little better and I’m now seeing a few inclusions in the glass.
Oct 19
Waiting for pitch to arrive, no work this Friday.
Oct 21
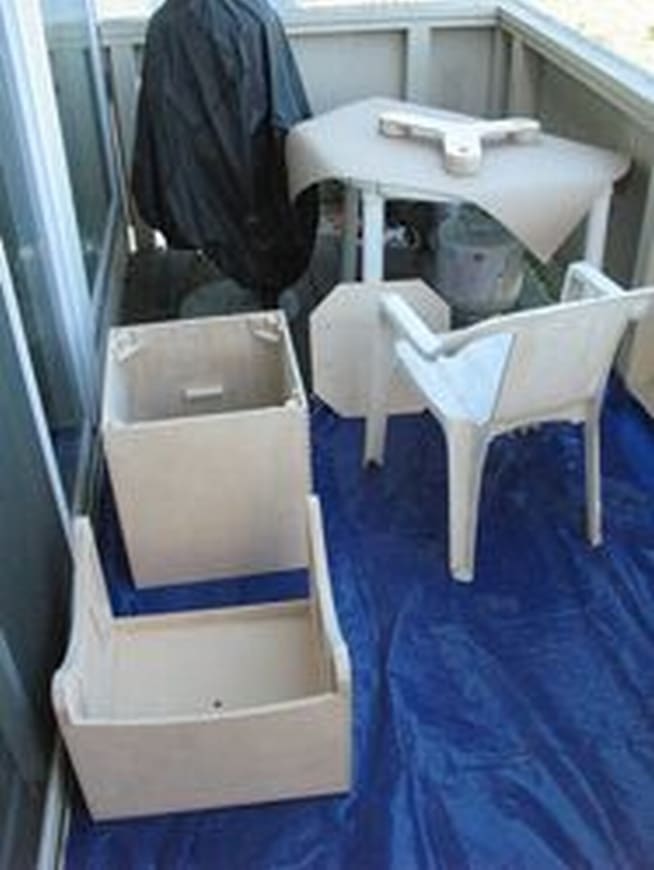
Now working on my back deck, the parts have been sanded and I’m now ready to start applying the varnish.
Oct 26
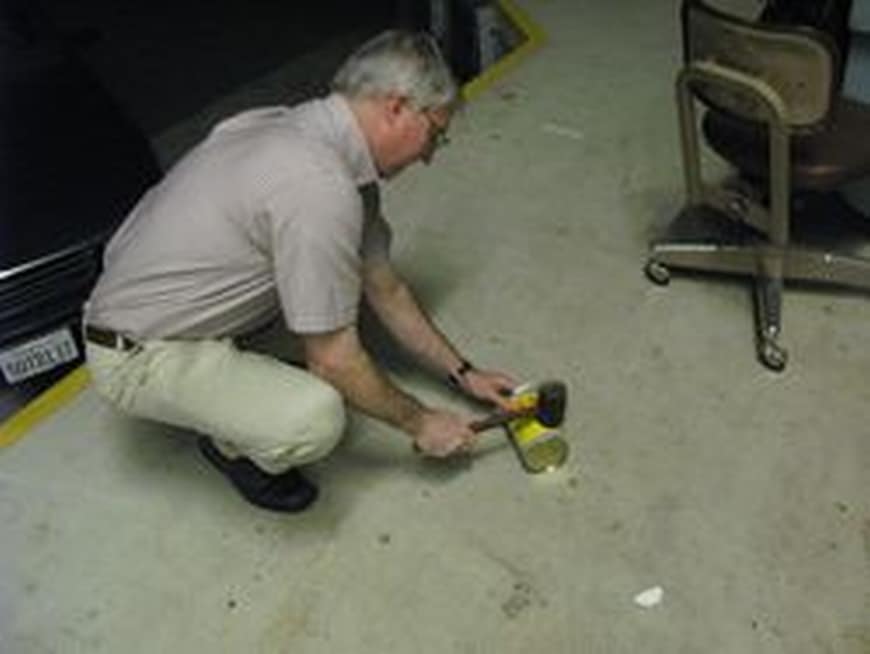
Creating a pitch lap for final polishing and figuring. First the canister is bashed to break up the contents. The pitch is cooked on a hot plate until melted. The tool with the tiles is then wrapped with a couple of layers of masking tape to make a dam into which the pitch will be poured. Once the pitch is set, the dam is removed, some Ce0 is spread on the pitch and then a grid is pressed into the pitch to create the initial channels. The mirror is then placed on the pitch surface to complete the process.
Nov 2
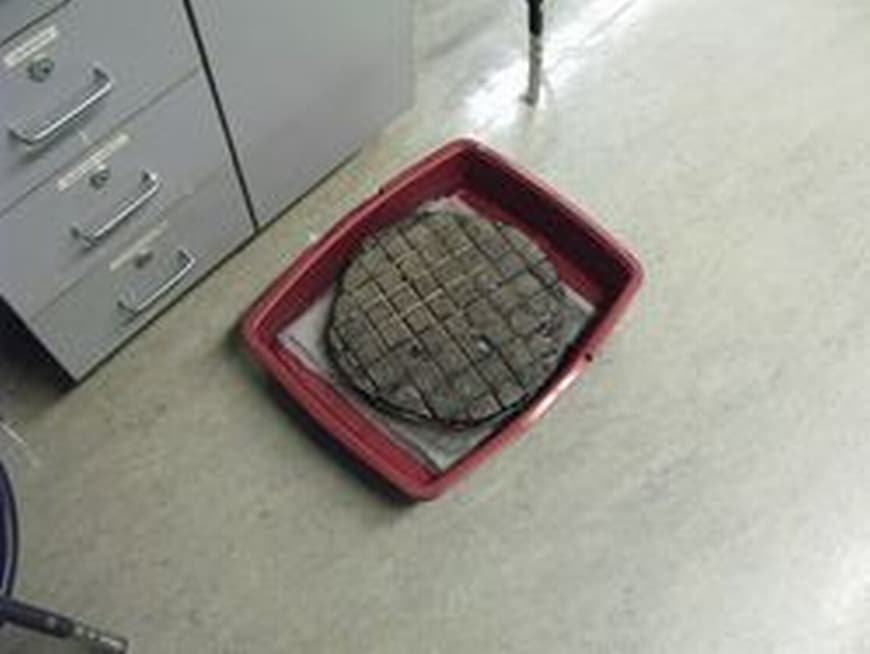
First night of polishing for about 1 hour with CeO. The process now is to soften the pitch with hot water in a tray. The glass is placed on top of this with some CeO spread between and then yes I stand on it to bring the 2 surfaces into contact. After the pressing we get to polish. This is a much tougher process as the surfaces cling to each other. This is harder work and much slower going.
From this point there is a minimum of 12 hours polishing, but it takes additional time to constantly heat and press the lap for tight tolerances and then the channels need to be cleared and made consistent as well. So we are looking at least 24 hrs for polishing then we get to configure and see how accurate the final shape is. After that I need to have the mirror aluminized and coated. It may be really difficult to complete this for Christmas. I’ll probably polish over the Thanksgiving weekend at home, for about 8 hours a day.
The last image in this group shows the glass and lap together and the CeO frothing in the channels in the lap. this is a good sign that things are working right.
By shining a light on the outside edge or the center you can see how clear (polished) the glass is getting. Right now there is more reflection at the outer edge which shows that I need more work there. The center has less of a surface reflection and is closer to being completed.
Nov 9
I got some help with the channels in the pitch lap. They are now much wider and cleaner. Now that the glass has some polish we can start testing it. The glass is placed in the holder and we use the Ronchi checker to see what the shape of the surface is. After about 2 hours of polishing I have a slight turned down edge and an oblate center. This is good for the point that I’m currently at.
The printout shows the shape or pattern this Ronchi test should produce. By looking through this tool you can see this pattern. It is real particular about where your eye is placed and then any disturbance in the air makes the image dance around. Paul likes to show people what their body heat does to the image. Simply by placing your hand in front and below the mirror blank, you will see the heat waves like they were coming off a sun baked highway.
We are using an 80 line per inch glass to project these lines down to the glass surface and then look at the difference patter between what is sent and then received at the tool with the light.
Nov 16
Continue to polish and test
Nov 22-25
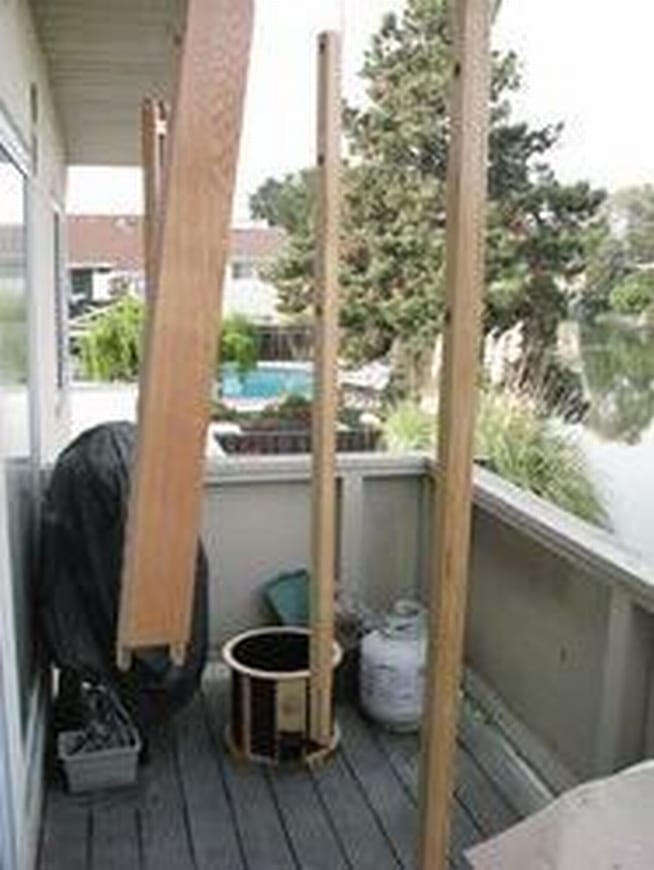
I’ve pretty much completed the telescope kit, but the mirror is still being worked on. I decided to order a Catsperch observing chair as a kit so I’d have some woodworking to do over the holiday. This was mostly a paint and assembly job. You can see here the parts hanging up to dry. An finally we have the completed telescope kit and the Catsperch waiting for use. Being ready for Christmas looks like a dream at this point.
Nov 30
More polishing
Dec 7
More polishing
Dec 14
More polishing
Dec 21
More polishing
Dec 28 and Jan 4, 2008
No work visiting family in San Diego.
Jan 11
Final polishing and the start of figuring. With about an hours worth of work, polishing ended after about 13 hours. At this point the mirror surface is smooth and clear. It has been tested to have a spherical shape with the edge slightly turned up. Now the task is to take the spherical shape and make it a parabola. The stroke changes to multiple zigzags with a wider spacing in the middle. This will work the edge and carve out the middle. We chose to use a less aggressive stroke so I don’t over do it. We are now testing the surface about every 5 minutes.
With this less aggressive approach Paul warns me that it might be 8-10 more hours to get the shape correct.
Jan 18
More figuring. By the end of the evening Paul likes where the mirror is but the edge needs to be worked more. I switch with the tool on top and work center over center for about 5 minutes and retest.Paul says it looks really close, but I’ve run out of time to work.
Jan 25
More figuring. Tonight I switch to Rouge or iron oxide (FeO). This stuff is really red. This is supposed to provide a smoother surface but it takes more work. I try the tool on top center over center for about 10 minutes.
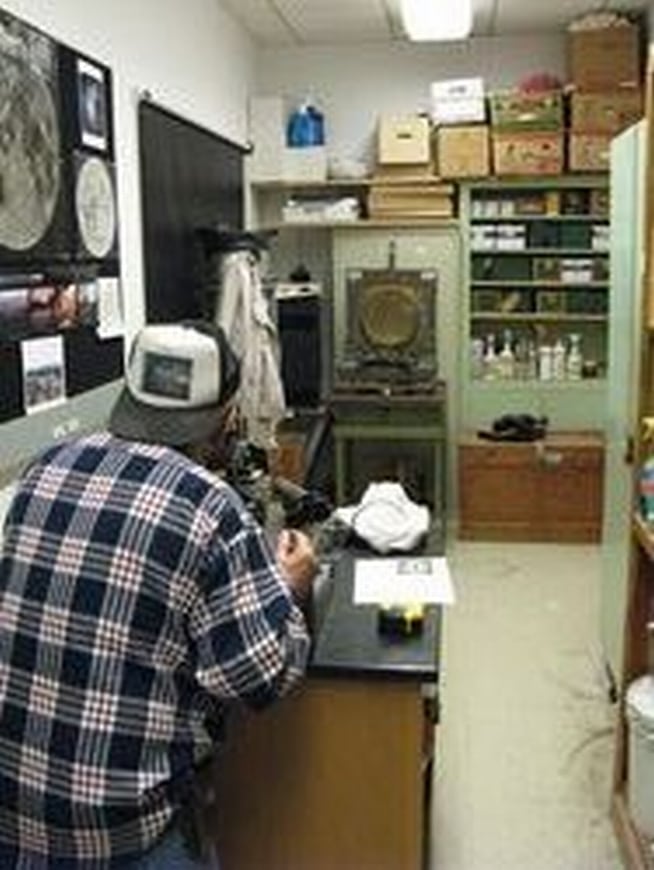
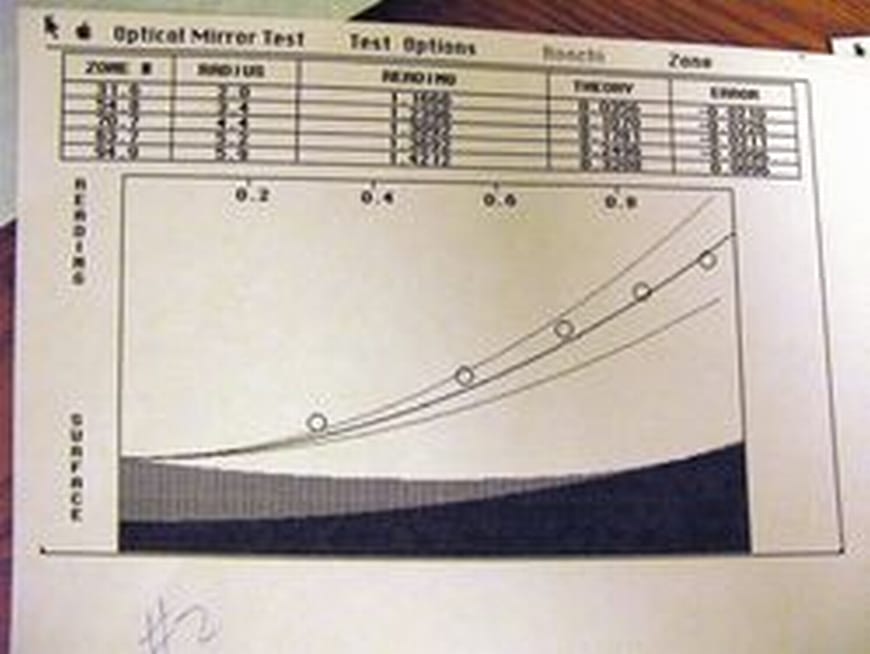
We tested the surface and the Ronchi test looked really good, so we decided to take some real measurements with the Knife Edge test. We use the same stand and scope, but this time we mount this little board with a set of pins spaced so that we can measure the 30, 50, 70, 80 and 90% zones to determine the accuracy of the parabola I’ve created.
This was a really stormy and cold night, but you can see the results on the charts. The important outer edge looks dead on and the center is a little deep. The recommendation is to test again on a better night and if the numbers stay the same or improve to stop figuring.
Feb 1
Tonight was not stormy but it was still a very cold night. We spent some time trying to get the air to settle in the testing room and then ran 2 different sets of measurements. We decided that things looked pretty good and that I was somewhere between an 1/8th and a 1/10th wave in quality.
Feb 9
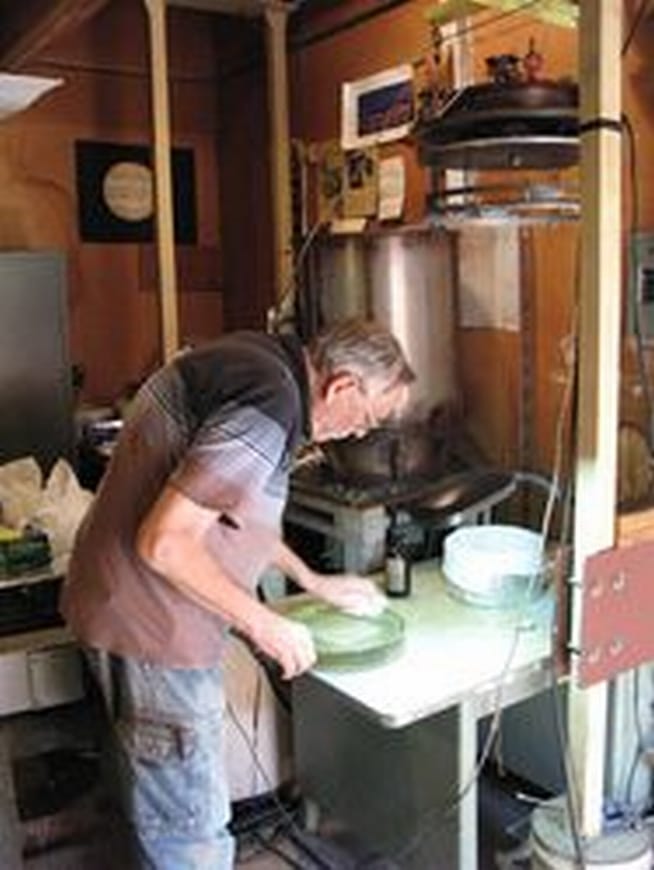
Today we are alumni zing or coating the mirror. I went over to Bob Fies home where we did the work. The first step was to clean the surface of any finger prints and remaining pitch and polishing compound.
Once the surface is cleaned, it was placed face down on the support and then clamped into the vacuum tank top. The top is mounted to the tank, and the cage just below it with the mirror rotates.
Once the tank was sealed, a balloon filled with helium was attached. It took about an hour to get the vacuum right. Another 15 minutes to apply the aluminum and maybe 10 more to apply the coating.
Aluminum coating is done by placing the glass blank in a high vacuum tank. Aluminum metal is evaporated from a wire near the bottom of the tank and coats the mirror which is being rotated at the top of the tank. A very thin SiO transparent coating is coated over the aluminum coating.
As the coating process finished, Bob prepared a protective warp for the mirror. We popped the top off the tank and as you can see we had a new reflective surface.
Feb 16
I’m installing the optics and making final adjustments. The first step is to look at my new mirror and mark a center spot for later alignment. I cut a piece of newspaper to the same size of the mirror and cut a hole at the center point. I then placed a small mark with a Sharpie pen and then added a little square with hole so it would be easy to see in the dark. Later the Sharpie mark was removed. The mirror was then put into the base box through the trap door. The mirror rests on the sling at the top and the 3 posts just keep it from sliding around too much when transporting.
The truss tubes are put back on the lower base and now to adjust the upper cage. First step is to make sure the focuser is mounted square to the tube/filter box. We find a point directly across from the opening and at the center on the opposite wall. A strip of paper is fitted to the inside of the tube and we fold it in half to find the center point and measure in from the edge an appropriate distance. A whole is cut in the paper at that point and I use a white marker to place a spot on the opposite wall.
A laser collminator is used to adjust the positioning of the focuser so that it lines up properly with the secondary mirror. The secondary mirror has a spot at its center that is used to align with the laser point. The upper cage is then placed on the truss tubes.
Next step is to make sure the spider that will hold the secondary mirror aligns with center of the cage and the primary mirror is centered properly in its base. By sighting trough the center of the spider I should be able to line up on the center spot of the primary mirror. I also need to see how well the telescope balances. With an eyepiece in the front and the secondary mirror, it should balance and stay at any position I leave it in. Out of the box, the back end is heavy. Adding another 5 pounds in the form of a bag of flour confirms the amount of weight I will have to add.
That does it for the initial alignment. I’ll go to the workshop this week to do the final collmination. The scope breaks down into a cover for the upper cage and carrying case for the truss tubes. The upper cage then fits inside the lower box to which handles and wheels can be added. This assembly is a little bigger and heavier than I expected so those wheels will come in handy when taking it out to the field.
